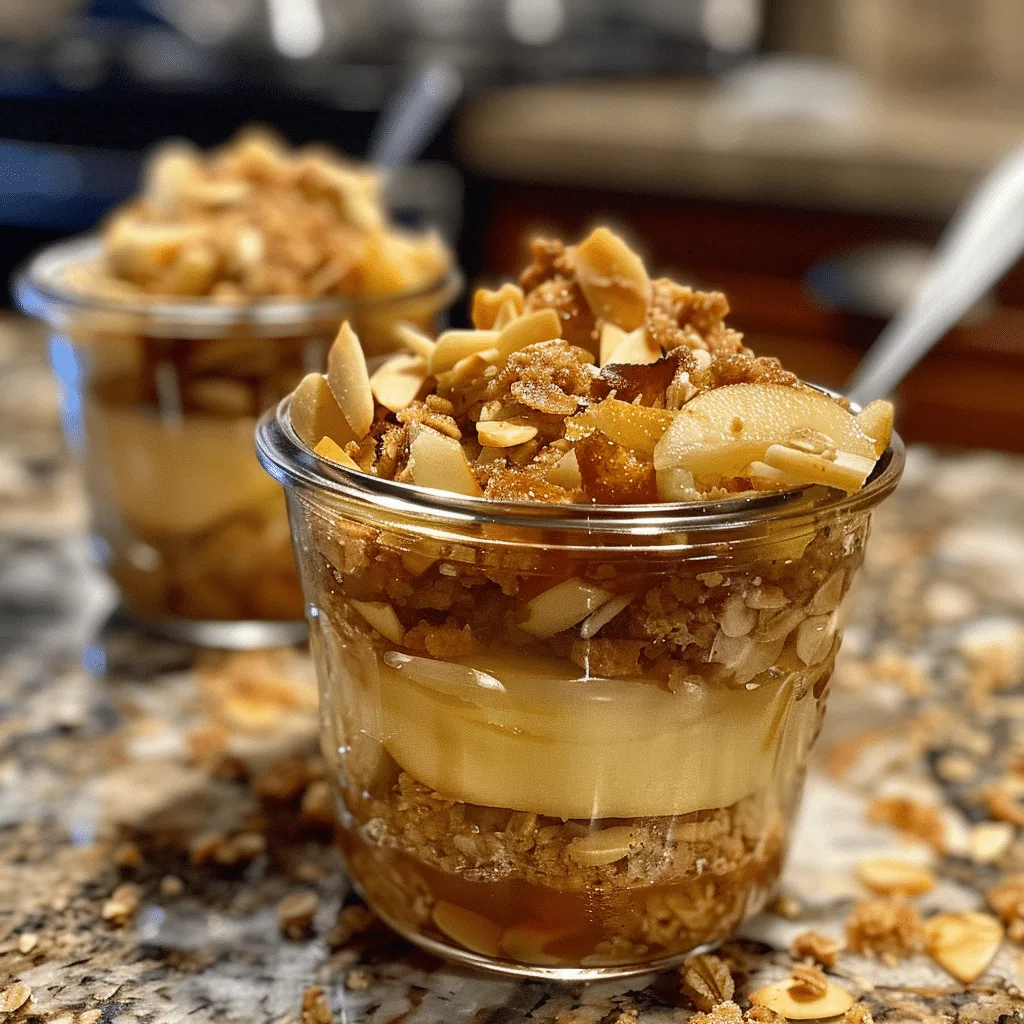
When fall flavors meet creamy indulgence, you get these irresistible Apple Crisp Cheesecake Jars. Each jar layers smooth, tangy cheesecake with warm cinnamon-spiced apples and a buttery oat crumble, creating the perfect mix of textures and tastes. It’s like a classic apple crisp and a rich New York–style cheesecake got together to make the ultimate dessert — comforting yet elegant. I first made these for a family gathering, and everyone loved the personal serving size and the balance of sweet, creamy, and crunchy. Whether you serve them for a dinner party or meal prep them for a special weeknight treat, these jars bring all the coziness of fall in a beautiful, portable package.
Why You’ll Love This Recipe
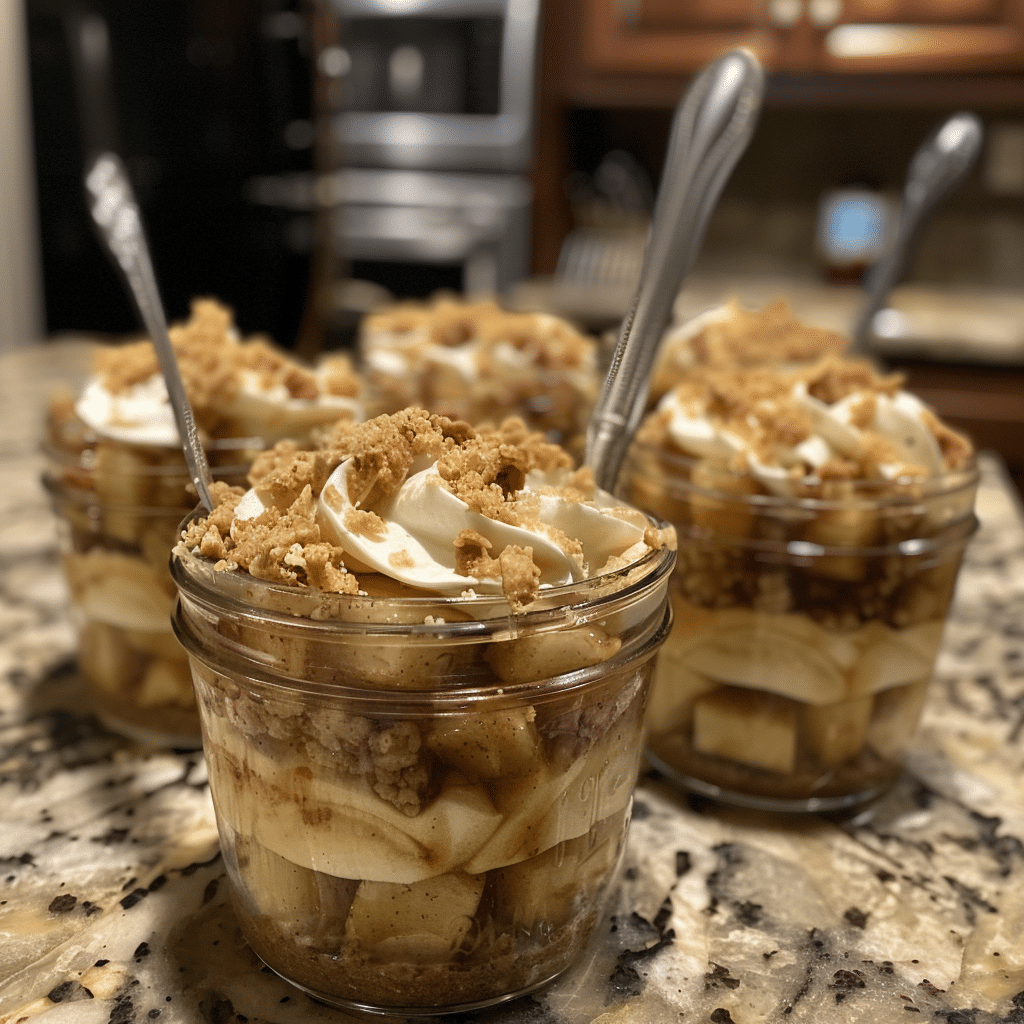
These Apple Crisp Cheesecake Jars are a dream dessert for any season, but especially when apples are at their peak. They’re perfectly portioned, easy to assemble, and make-ahead friendly. The no-bake cheesecake layer is light yet creamy, the apple filling is sweetly spiced, and the crumble topping adds just the right crunch. Plus, the individual jars make them ideal for entertaining — no slicing, no fuss, just grab a spoon and dig in. It’s comfort dessert done with style and simplicity.
Print
Apple Crisp Cheesecake Jars – A Cozy, Creamy Treat in Every Spoonful
- Total Time: 35 mins
- Yield: 6 jars
- Diet: Vegetarian
Description
Apple Crisp Cheesecake Jars are a delightful layered dessert featuring creamy cheesecake filling, warm cinnamon-spiced apples, and a buttery oat crisp topping. Served in individual jars, they’re perfect for holidays, parties, or an easy make-ahead treat with cozy fall flavors.
Ingredients
- 1 cup graham cracker crumbs
- 3 tbsp unsalted butter, melted
- 2 tbsp brown sugar
- 8 oz cream cheese, softened
- 1/2 cup powdered sugar
- 1/2 tsp vanilla extract
- 1 cup whipped topping or heavy cream (whipped to stiff peaks)
- 2 large apples, peeled and diced
- 2 tbsp butter
- 2 tbsp brown sugar
- 1 tsp cinnamon
- 1/4 tsp nutmeg
- 1/2 tsp lemon juice
- 1/2 cup oats
- 1/4 cup flour
- 2 tbsp brown sugar (for crisp topping)
- 2 tbsp butter, melted (for crisp topping)
Instructions
- In a small bowl, mix graham cracker crumbs, melted butter, and brown sugar. Spoon about 2 tablespoons into the bottom of each jar and press lightly to form a crust.
- In a medium skillet, melt butter over medium heat. Add diced apples, brown sugar, cinnamon, nutmeg, and lemon juice. Cook for 5–7 minutes until apples are soft and syrupy. Remove from heat and cool slightly.
- In another bowl, beat cream cheese, powdered sugar, and vanilla until smooth and creamy. Fold in whipped topping until light and fluffy.
- In a separate bowl, combine oats, flour, brown sugar, and melted butter. Spread on a baking sheet and toast at 350°F (175°C) for 8–10 minutes until golden and crisp. Let cool.
- Assemble the jars: Layer cheesecake filling over the graham crust, then add a spoonful of apple mixture, and top with the oat crisp.
- Repeat layers if desired and finish with a sprinkle of oat topping and a drizzle of caramel sauce (optional).
- Refrigerate for at least 1 hour before serving for best texture.
Notes
- Use Granny Smith or Honeycrisp apples for the best flavor balance.
- Can be made 1–2 days ahead — just add the crisp topping right before serving.
- Top with caramel sauce or whipped cream for extra indulgence.
- Use small mason jars or clear cups for easy serving and storage.
- Prep Time: 25 mins
- Cook Time: 10 mins
- Category: Dessert
- Method: No-Bake with Toasted Topping
- Cuisine: American
Ingredients
(Tip: You can find the complete list of ingredients and their measurements in the recipe card below.)
Cream cheese – The base of the cheesecake layer, rich and smooth. Make sure it’s softened for easy mixing.
Whipped topping or heavy cream – Adds lightness and airiness to the cheesecake filling. I’ve used both; whipped topping gives a more mousse-like texture.
Powdered sugar – Sweetens the cheesecake layer without making it grainy.
Vanilla extract – Adds a warm, classic flavor that enhances the cheesecake base.
Graham cracker crumbs – The base layer of the jars, offering a buttery, slightly crunchy foundation.
Butter – Mixed with the crumbs to create that familiar graham crust flavor.
Apples – Use firm varieties like Honeycrisp or Granny Smith for the perfect tart-sweet balance in the filling.
Brown sugar – Adds deep, caramel-like sweetness to the cooked apples.
Cinnamon and nutmeg – Essential fall spices that make the apple layer warm and aromatic.
Lemon juice – Brightens the apple filling and balances the sweetness.
Rolled oats – The key to that classic crisp topping texture.
Flour – Helps bind the oat topping.
Butter and brown sugar (for the topping) – Combine to form a golden, crunchy crumble.
Directions
Start by preparing the apple filling. In a skillet over medium heat, melt butter and add peeled, diced apples. Stir in brown sugar, cinnamon, nutmeg, and lemon juice. Cook for about 8–10 minutes until the apples are tender and slightly caramelized. Set aside to cool.
For the crumble topping, mix rolled oats, flour, and brown sugar in a bowl. Cut in cold butter using a fork or your fingers until the mixture resembles coarse crumbs. Spread on a baking sheet and bake at 350°F (175°C) for 10–12 minutes, or until golden and crisp. Let cool completely.
For the cheesecake layer, beat softened cream cheese with powdered sugar and vanilla until smooth. Gently fold in whipped topping or whipped cream until fluffy and well combined.
To assemble, layer graham cracker crumbs mixed with melted butter in the bottom of small jars. Spoon in a generous layer of cheesecake filling, followed by a spoonful of apple mixture. Top with the oat crumble. Repeat layers if your jars are tall. Chill for at least 1 hour before serving.
Equipment needed :
Must-Have Tools to Get Rolling
Here’s what you’ll want to have on hand:
Silicone Spatula – Durable, heat-resistant silicone spatula perfect for mixing, scraping, and spreading. Gentle on non-stick cookware and easy to clean.
Large pot – You’ll need this to boil the whole cabbage head and soften the leaves.
large bowl –Spacious, durable large bowl ideal for mixing, serving, or food preparation. Made from sturdy material and easy to clean.
Sharp knife – For coring the cabbage and slicing out the thick stem in each leaf. A paring knife works best.
Mixing bowl – A big bowl makes it easier to combine your meat and rice filling evenly.
Cutting board – For prepping cabbage leaves and rolling them like a pro.
9×13-inch baking dish – Ideal size to fit your rolled cabbage leaves snugly and prevent them from unraveling.
knife – A sharp, durable kitchen knife perfect for slicing, chopping, and dicing with ease
Servings and timing
This recipe makes 6 jars and takes about 40 minutes total — 20 minutes for prep, 10 minutes for baking the crumble, and 10 minutes for cooling and assembling.
Storage/reheating
Store the jars covered in the refrigerator for up to 4 days. The crumble will stay crisp if stored separately and added just before serving. These jars are not ideal for freezing, as the cheesecake layer can lose its creamy texture when thawed.
Variations and Customizations
Salted Caramel Apple Jars
Drizzle caramel sauce between the layers for extra richness.
Maple Spice Cheesecake
Add a teaspoon of maple syrup and a pinch of cloves to the cheesecake filling.
Peanut Butter Apple Crunch
Blend a tablespoon of peanut butter into the cheesecake for a nutty twist.
Biscoff Crust Base
Replace graham crackers with crushed Biscoff cookies for a deeper, spiced flavor.
Pumpkin Apple Layer
Add a thin layer of pumpkin puree mixed with cinnamon between the cheesecake and apples for a fall fusion.
Honey Crisp Topping
Drizzle warm honey over the oat crumble before serving.
Apple Pie Filling Shortcut
Use store-bought apple pie filling for an even quicker version.
Crumble Mix Swap
Use crushed granola instead of oat crumble for a faster, crunchier topping.
Chocolate Lovers’ Version
Add a thin layer of melted chocolate on top of the crust before adding cheesecake filling.
Mini Dessert Shooters
Make smaller versions in shot glasses for parties or dessert tables.
FAQs
Can I make these ahead of time?
Yes, they’re perfect for making 1–2 days ahead. Add the crumble topping right before serving for the best texture.
What apples are best for this recipe?
Granny Smith or Honeycrisp hold their shape and give a great balance of tartness and sweetness.
Can I use store-bought crust?
Yes, pre-made graham crumbs or crushed cookies work great.
Do I need to bake the cheesecake layer?
No, it’s a no-bake cheesecake — creamy and ready after chilling.
Can I make these dairy-free?
Yes, use vegan cream cheese, dairy-free butter, and coconut whipped topping.
How long should I chill them before serving?
At least 1 hour, but they taste even better after 3–4 hours.
Can I use pie filling instead of fresh apples?
Absolutely, just warm it slightly before layering.
How do I keep the crumble crunchy?
Store it separately and sprinkle it on just before serving.
Can I double the recipe?
Yes, it doubles easily — just make extra crumble and filling.
What’s the best way to serve them?
Serve chilled straight from the jar with a small spoon for that layered dessert experience.
Conclusion
Apple Crisp Cheesecake Jars bring all the cozy flavors of apple pie and creamy cheesecake into one elegant, make-ahead dessert. Each bite delivers the perfect contrast of textures — creamy, crunchy, and caramelized — all layered in a charming individual jar. Whether for a fall gathering, a festive dinner, or a sweet weekend treat, these jars are a guaranteed hit that capture the essence of comfort and indulgence in every spoonful.
Hungry for more? Visit our website for full recipes and follow us on Pinterest for daily foodie inspo you’ll love to pin!