Let’s be honest—cheesecake is already a star in the dessert world. But pair it with cookie butter and serve it in a cup? That’s a next-level treat. Cookie butter cheesecake cups are rich, creamy, and totally fuss-free. You don’t need an oven, a springform pan, or even much patience. In fact, these bite-sized delights are perfect for quick desserts, parties, or anytime you’re craving something indulgent without the hassle.
This guide breaks it all down—ingredients, tools, variations, and expert tips—to help you whip up your own no-bake cheesecake cups that taste like they came straight from a fancy bakery. Whether you’re a baking newbie or a seasoned dessert lover, these mini wonders are bound to become your go-to sweet fix.

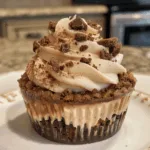
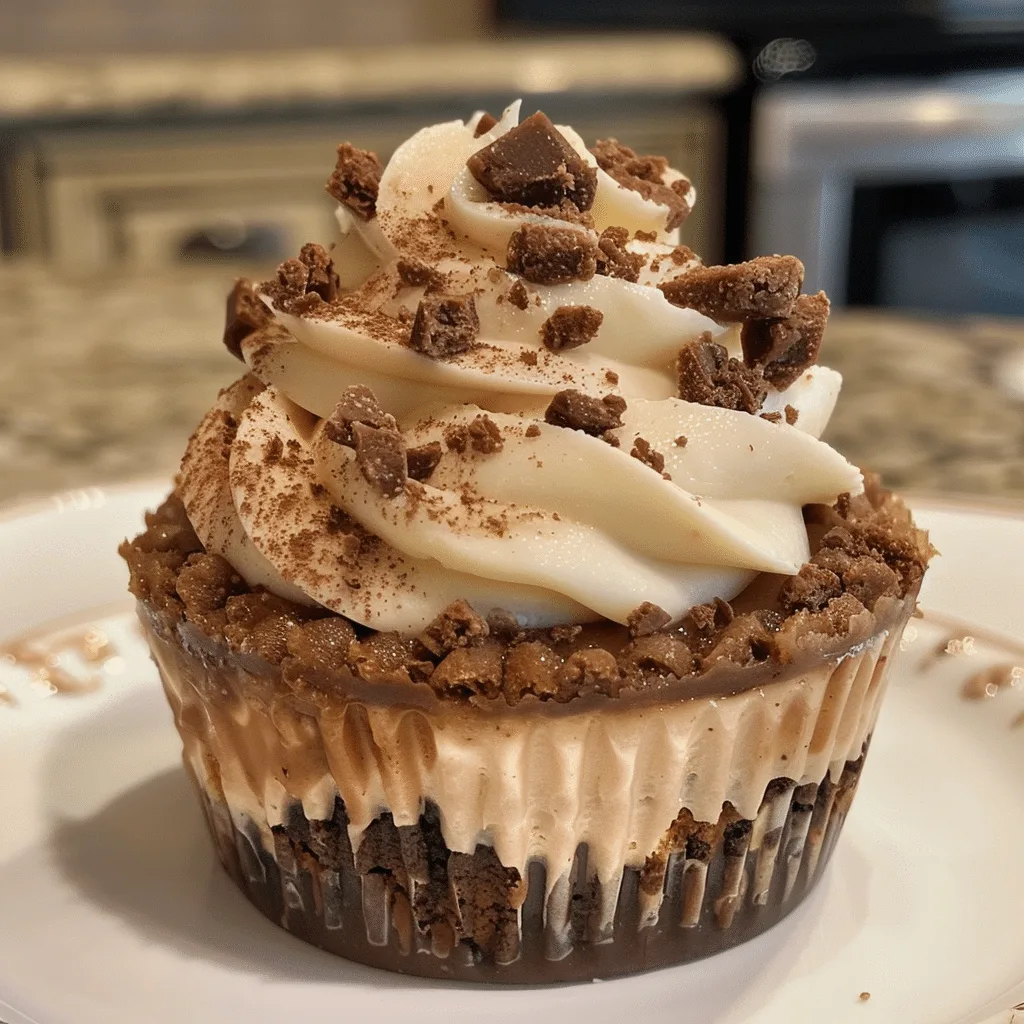
Cookie Butter Cheesecake Cup – A No-Bake Dream in Every Bite
- Total Time: 2 hrs 20 mins (including chilling)
- Yield: 6 servings
- Diet: Vegetarian
Description
A rich and creamy no-bake cheesecake cup layered with cookie butter, graham cracker crumbs, and a smooth cream cheese filling, perfect for individual desserts.
Ingredients
- 1 cup graham cracker crumbs
- 3 tbsp melted butter
- 2 tbsp sugar
- 8 oz cream cheese, softened
- 1/2 cup cookie butter (plus extra for topping)
- 1/2 cup powdered sugar
- 1 tsp vanilla extract
- 1 cup heavy whipping cream
- Crushed cookies (for garnish)
Instructions
- In a bowl, mix graham cracker crumbs, melted butter, and sugar until combined.
- Press the crumb mixture into the bottom of serving cups to form a crust layer.
- In a large bowl, beat cream cheese, cookie butter, powdered sugar, and vanilla extract until smooth.
- Whip heavy cream in a separate bowl until stiff peaks form, then fold into the cream cheese mixture.
- Spoon or pipe the cheesecake mixture over the crust layer in cups.
- Chill in the refrigerator for at least 2 hours to set.
- Before serving, top with a drizzle of melted cookie butter and sprinkle with crushed cookies.
Notes
- For a firmer texture, chill overnight.
- Use Biscoff cookies for the crust to enhance cookie butter flavor.
- Serve in mini cups or jars for parties and easy portioning.
- Prep Time: 20 mins
- Cook Time: 0 mins
- Category: Dessert
- Method: No-Bake
- Cuisine: American
Key Ingredients for Cookie Butter Cheesecake Cup
Crafting the perfect cookie butter cheesecake cup starts with a handful of dreamy ingredients that work together like magic. Each one brings texture, flavor, and that irresistible creamy-spiced vibe we all crave.
Biscoff Cookies (or Speculoos)
The base of every great cheesecake cup? A buttery, crunchy crust. Biscoff cookies—rich with caramelized spice—are the gold standard. Crushed and combined with melted butter, they create the perfect no-bake foundation.
Cookie Butter Spread
Ah, the star of the show! Cookie butter, sometimes called speculoos spread, is smooth, sweet, and full of warm, cinnamon-y flavor. It blends beautifully into the filling and makes a killer drizzle on top.
Cream Cheese
Tangy and rich, cream cheese is what gives the cheesecake layer its classic body and taste. Go full-fat for the best texture, or lighten it up if you prefer a fluffier feel.
Heavy Cream or Whipping Cream
To balance the density of the cream cheese, a bit of whipped cream adds airiness. It makes the filling lighter, silkier, and totally spoon-worthy.
Vanilla Extract, Sugar, and Butter
Vanilla extract adds warmth. A touch of sugar sweetens the filling, and melted butter binds the crust like a dream.
How to Make Cookie Butter Cheesecake Cup Step-by-Step
Making cookie butter cheesecake cups is way easier than it looks—no oven, no fuss, just creamy, dreamy goodness in every layer. Here’s how to bring them to life.
Make the Cookie Crust
Start by crushing your Biscoff cookies—either in a food processor or by hand with a zip-top bag and rolling pin. Mix the crumbs with melted butter until they resemble wet sand. Press the mixture into the bottoms of your cups or liners, forming a firm crust. Chill for 10–15 minutes to set.
Whip Up the Cheesecake Filling
In a large bowl, beat the cream cheese and cookie butter spread together until smooth and fluffy. Add in sugar and a splash of vanilla extract. In a separate bowl, whip the heavy cream until soft peaks form, then fold it into the cream cheese mix. This gives the filling a light, mousse-like texture.
Assemble and Chill
Spoon or pipe the filling over the crusts. Smooth the tops and refrigerate for at least 3 hours, or overnight for best results.
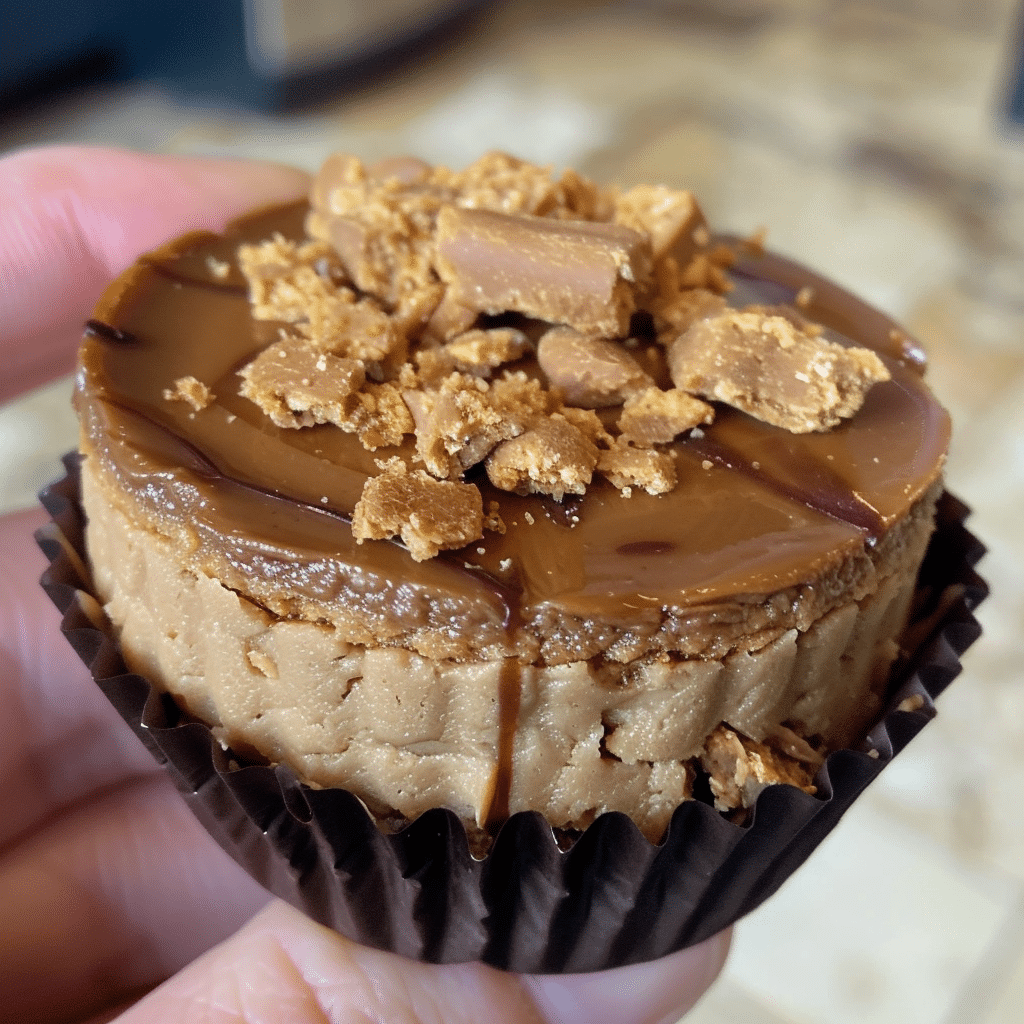
Add Finishing Touches
Right before serving, drizzle melted cookie butter, top with crushed cookies, or add whipped cream for that bakery-worthy finish.
Must-Have Equipment for Cookie Butter Cheesecake Cup
You don’t need a professional kitchen to whip up cookie butter cheesecake cups—just a few trusty tools you likely already have. Here’s what you’ll need to make the magic happen.
Mixing Bowls
Grab at least two. One for the crust mixture and one for the creamy cheesecake filling. Use deep bowls if you’re whipping cream to avoid splashes.
Electric Hand Mixer or Stand Mixer
While you can mix by hand, an electric mixer makes things way easier. It ensures your cream cheese and cookie butter filling turns out smooth, lump-free, and fluffy.
Food Processor (Optional but Handy)
Crushing Biscoff cookies is a breeze with a food processor. No processor? No problem—use a rolling pin and a zip-top bag to smash them into crumbs.
Muffin Tin, Mini Jars, or Dessert Cups
These are your serving vessels. Use silicone liners for easy release or pretty jars if you’re gifting them. Glass dessert cups work great for layered presentation.
Rubber Spatula or Spoon
Perfect for folding whipped cream into the filling and scraping every last bit of deliciousness from the bowl.
Optional: Piping Bag
If you want that fancy swirl on top, a piping bag will give you bakery-level presentation.
You don’t need a professional kitchen to whip up cookie butter cheesecake cups—just a few trusty tools you likely already have. Here’s what you’ll need to make the magic happen.
Flavorful Variations of Cookie Butter Cheesecake Cup
The beauty of the cookie butter cheesecake cup? It’s endlessly customizable! Whether you want a fruity burst, a chocolate twist, or a nutty edge, these variations let you get creative without breaking a sweat.
Chocolate Cookie Butter Cheesecake Cup
Love chocolate? Mix in a tablespoon of cocoa powder to the cheesecake filling or sprinkle mini chocolate chips between layers. Want more indulgence? Drizzle melted dark chocolate on top for that perfect bittersweet contrast.
Cookie Butter Berry Cheesecake Cups
Add a layer of fresh strawberries, raspberries, or blueberry compote between the crust and filling for a fruity upgrade. The tartness pairs beautifully with the spiced cookie butter flavor.
Nutty Cookie Butter Swirl
Swirl in a spoonful of almond butter or peanut butter to create a marbled, nutty cheesecake cup. It adds richness, texture, and extra protein.
Salted Caramel Crunch
Top your cups with crushed pretzels and a drizzle of salted caramel sauce. The sweet-salty combo? Chef’s kiss.
Vegan Cookie Butter Cups
Swap in plant-based cream cheese, coconut whipped cream, and dairy-free cookie butter to make these treats 100% vegan without sacrificing flavor.
Frequently Asked Questions About Cookie Butter Cheesecake Cup
Can I use peanut butter instead of cookie butter?
You can, but it’ll change the flavor profile. Cookie butter has a warm, spiced sweetness from crushed speculoos cookies, while peanut butter leans nutty and salty. If you’re in a pinch, use a sweetened creamy peanut butter, and consider adding a pinch of cinnamon for that cozy cookie butter vibe.
Do cookie butter cheesecake cups need to be baked?
Nope, that’s the beauty of it! These mini cheesecake cups are completely no-bake, making them perfect for hot days, quick prep, or beginner bakers. Just chill them in the fridge for a few hours to firm up.
How long should I chill them before serving?
Let your cookie butter cheesecake cups chill for at least 3 hours, but overnight is even better. This helps the crust firm up and gives the filling that velvety texture you want.
Can I freeze cheesecake cups?
Yes! You can freeze them for up to 2 months. Just wrap tightly or store in an airtight container. Thaw in the fridge before serving, and keep toppings off until ready to eat to avoid sogginess.
Hungry for more? Visit our website for full recipes and follow us on Pinterest for daily foodie inspo you’ll love to pin!