
Why You’ll Love This Recipe
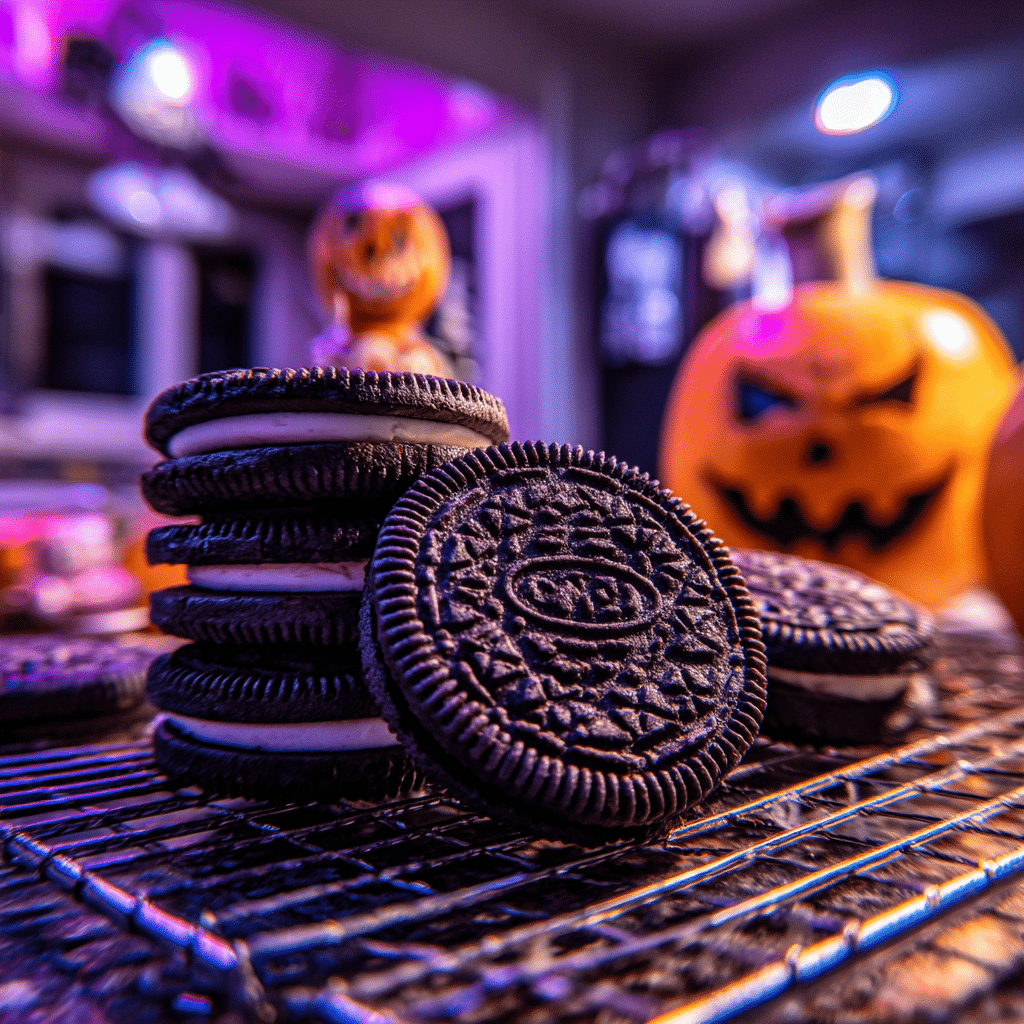
When it comes to festive treats, Halloween is the perfect excuse to create something that is both spooky and delightful. These Easy Halloween Oreo treats are a fun and simple dessert that can be made in very little time, yet look like they belong at a professional bakery. The beauty of this recipe lies in its versatility—whether you are hosting a Halloween party, preparing classroom snacks, or simply wanting to make an after-dinner treat for your family, these Oreos fit the bill. They require only a handful of ingredients, no advanced baking skills, and can easily be customized with colors, toppings, and decorations to suit your Halloween theme. The combination of creamy filling, crunchy cookie, and sweet candy coating makes them irresistible. Best of all, they can be made ahead of time, saving you stress on the day of your event.
Print
Easy Halloween Oreo Treats Everyone Will Love
- Total Time: 15 mins
- Yield: 24 cookies
- Diet: Vegetarian
Description
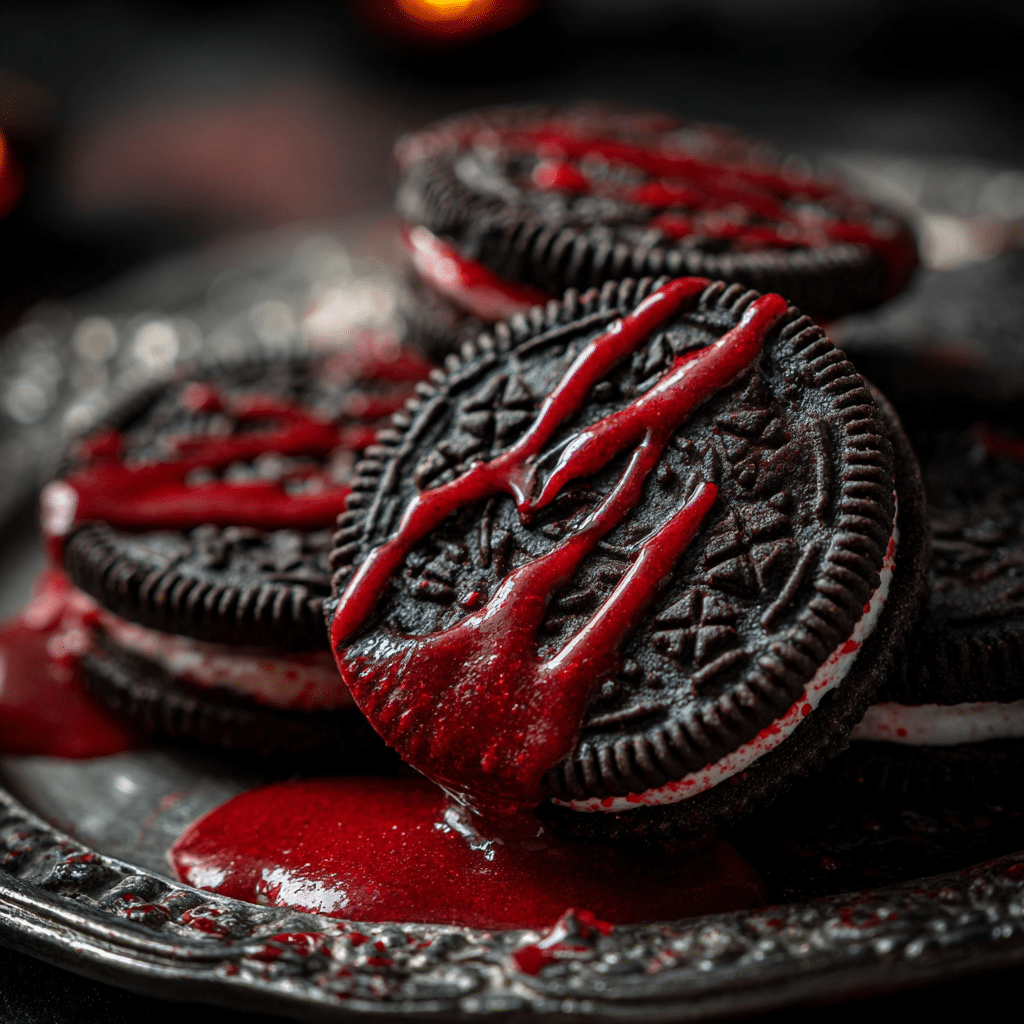
Fun and festive Halloween Oreos dipped in chocolate and decorated with spooky sprinkles, perfect for parties or a quick holiday treat.
Ingredients
- 1 package Oreo cookies
- 12 oz white chocolate or candy melts (orange, black, or green)
- 12 oz semi-sweet or milk chocolate
- Halloween-themed sprinkles
- Candy eyes (optional)
Instructions
- Line a baking sheet with parchment paper.
- Melt white chocolate and semi-sweet chocolate separately in microwave-safe bowls in 20-second intervals, stirring until smooth.
- Dip Oreos halfway or fully into melted chocolate.
- Place dipped cookies onto the prepared baking sheet.
- Decorate immediately with sprinkles or candy eyes before chocolate sets.
- Chill in the refrigerator for 15–20 minutes until chocolate hardens.
- Serve and enjoy!
Notes
- Use colored candy melts for a brighter Halloween look.
- Double-dip for a thicker chocolate coating.
- Store in an airtight container for up to 1 week.
- Prep Time: 15 mins
- Cook Time: 0 mins
- Category: Dessert
- Method: No-Bake
- Cuisine: American
Ingredients
(Tip: You can find the complete list of ingredients and their measurements in the recipe card below.)
Oreo cookies – The star of the recipe, Oreos provide the perfect base with their rich cocoa flavor and creamy center. You can use classic Oreos or choose seasonal versions for an added festive flair.
White candy melts – These create a smooth, glossy coating that can be easily dyed with food coloring to match Halloween colors such as orange, green, or purple. They also set quickly, giving the treats a professional finish.
Black candy melts – Perfect for a dramatic Halloween look, black candy melts add depth and spooky contrast when decorating the Oreos. They can also be drizzled over lighter coatings for extra style.
Orange food coloring – Essential for creating that iconic Halloween orange, food coloring transforms white candy melts into a seasonal treat that immediately stands out on a party table.
Halloween sprinkles – From pumpkins and bats to classic black-and-orange nonpareils, sprinkles add texture, crunch, and instant festive appeal.
Candy eyes – These bring the Oreos to life by turning them into fun little monsters. They are especially popular for kids’ treats and can be placed in different positions for quirky personalities.
Vegetable shortening – A small amount helps thin out candy melts, ensuring a smooth coating that is easy to work with. This is particularly useful when dipping cookies.
Directions
Begin by preparing a baking sheet lined with parchment paper. Melt the white and black candy melts in separate bowls according to package instructions, adding a touch of vegetable shortening if needed to achieve a smooth, dippable texture. Once melted, divide the white candy melts into two portions and tint one portion with orange food coloring until you reach your desired shade.
Carefully dip each Oreo into the melted candy coating, using a fork to ensure it is fully covered. Gently tap off any excess and place the cookie on the parchment-lined baking sheet. While the coating is still wet, decorate with candy eyes, sprinkles, or a drizzle of the contrasting colored candy melts. For variety, you can dip some cookies halfway and leave the other half exposed for a layered look.
Allow the decorated Oreos to set completely at room temperature, or speed up the process by placing them in the refrigerator for about 10 minutes. Once hardened, transfer the cookies to an airtight container until ready to serve. These can be prepared a day or two in advance, making them ideal for party planning.
Servings and timing
This recipe yields approximately 24 decorated Halloween Oreo treats. Preparation time is around 20 minutes, and setting time takes about 10–15 minutes depending on your chilling method. In total, you can have a full batch ready in under 40 minutes, making it a quick and convenient recipe for busy holiday schedules.
Storage/reheating
These Halloween Oreos should be stored in an airtight container at room temperature for up to one week. If your kitchen is warm, refrigeration is recommended to prevent the candy coating from softening. Avoid stacking them without parchment between layers to preserve decorations. Since they are already coated and set, reheating is not required.
Variations and Customizations
Pumpkin Oreos – Use orange candy coating and add green candy leaves on top to mimic pumpkins.
Monster Faces – Apply multiple candy eyes in different sizes and drizzle bright colors for fun, goofy monsters.
Spider Web Design – Dip in black or white candy melts and pipe contrasting lines in a circular pattern, dragging a toothpick through to create a web effect.
Mummy Cookies – Dip Oreos in white candy melts and drizzle more white coating across them for a bandaged look. Add candy eyes for effect.
Glitter Oreos – Dust edible glitter over the wet coating for a glamorous Halloween vibe.
Glow-in-the-dark theme – Use neon food coloring to create bright, eerie cookies that stand out under black light.
FAQs
Can I use different types of Oreos?
Yes, you can use classic, double-stuffed, or seasonal flavored Oreos.
Do I need candy melts, or can I use chocolate?
You can substitute candy melts with white or dark chocolate, but candy melts set faster and are easier to color.
How do I prevent the coating from cracking?
Make sure the cookies are at room temperature before dipping to avoid temperature shock.
Can I make these ahead of time?
Yes, they can be made 2–3 days in advance and stored in an airtight container.
Can kids help with this recipe?
Absolutely, kids can help with dipping and decorating the cookies.
How do I thin candy melts if they are too thick?
Add a teaspoon of vegetable shortening to achieve a smoother consistency.
Are these safe for nut allergies?
As long as you use nut-free sprinkles and candy melts, this recipe is nut-free. Always check packaging.
Conclusion
These Easy Halloween Oreo treats are the perfect combination of festive charm, simplicity, and delicious flavor. With only a handful of ingredients and minimal effort, you can create a batch of cookies that are sure to impress at any Halloween celebration. Their versatility allows for endless creativity, from monsters and mummies to elegant glitter-coated designs. Whether you are preparing for a party, making snacks for children, or crafting homemade gifts, these decorated Oreos are a crowd-pleaser that delivers both fun and flavor. By following the simple steps and experimenting with different decorations, you can easily customize them to suit your theme. Quick, delightful, and irresistibly festive, these cookies are a must-have addition to your Halloween menu.
Hungry for more? Visit our website for full recipes and follow us on Pinterest for daily foodie inspo you’ll love to pin!