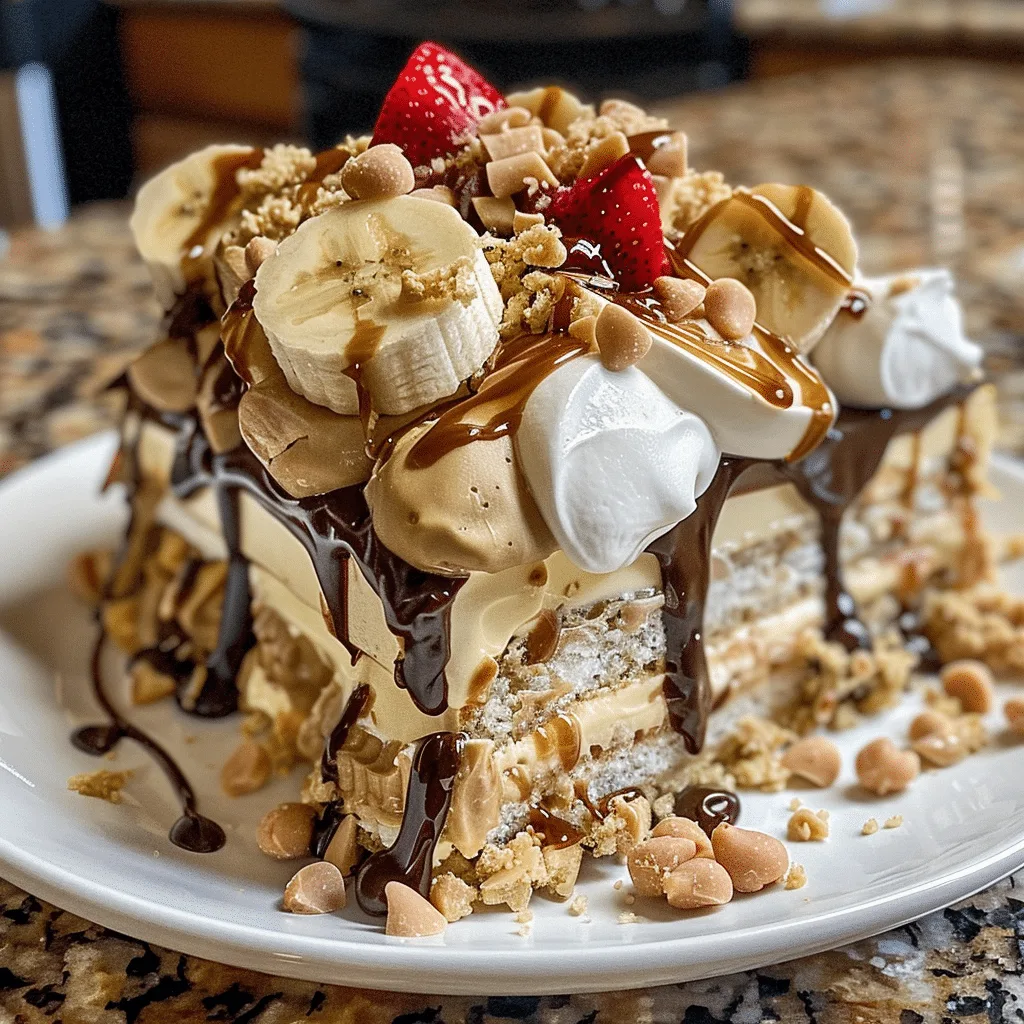
If you’re a fan of classic banana splits and creamy peanut butter desserts, this No-Bake Peanut Butter Banana Split Cake will become your new favorite indulgence. It’s a luscious, layered dessert featuring a buttery graham cracker crust, a smooth peanut butter cheesecake filling, layers of bananas, strawberries, and pineapple, all crowned with whipped cream, chocolate drizzle, and crushed peanuts. I made this cake for a summer gathering, and it was gone before I even had a second slice! The combination of creamy peanut butter, sweet fruit, and velvety whipped topping makes it both refreshing and decadent—without ever turning on the oven.
Why You’ll Love This Recipe
This dessert has everything you love about a banana split, elevated with the rich creaminess of peanut butter cheesecake. It’s no-bake, easy to assemble, and perfect for warm days when you want something light yet indulgent. The layers of fruit and cream create a perfect balance of flavors—sweet, salty, nutty, and fruity. It’s an ideal treat for parties, family dinners, or whenever you need a showstopping dessert that looks impressive but requires minimal effort.
Print
No-Bake Peanut Butter Banana Split Cake: A Creamy, Dreamy Dessert Delight
- Total Time: 4 hrs 25 mins (including chilling)
- Yield: 12 servings
- Diet: Vegetarian
Description
A rich and creamy no-bake peanut butter banana split cake layered with a graham cracker crust, smooth peanut butter cheesecake filling, fresh fruit, and luscious chocolate and caramel toppings — a fun twist on the classic banana split dessert.
Ingredients
- 2 cups graham cracker crumbs
- 1/2 cup unsalted butter, melted
- 1 (8 oz) package cream cheese, softened
- 1 cup creamy peanut butter
- 1 cup powdered sugar
- 1 teaspoon vanilla extract
- 1 (8 oz) tub whipped topping (like Cool Whip), thawed
- 3 medium ripe bananas, sliced
- 1 (20 oz) can crushed pineapple, drained
- 1 cup sliced strawberries
- 1/4 cup chocolate syrup
- 1/4 cup caramel sauce
- 1/2 cup chopped peanuts or walnuts
- Maraschino cherries, for garnish
Instructions
- In a medium bowl, mix graham cracker crumbs and melted butter until evenly combined. Press the mixture into the bottom of a 9×13-inch dish to form a crust. Chill for at least 20 minutes.
- In a large mixing bowl, beat cream cheese, peanut butter, powdered sugar, and vanilla extract until smooth and creamy.
- Fold in the whipped topping until fully combined and fluffy.
- Spread the peanut butter filling evenly over the chilled crust.
- Layer the sliced bananas evenly over the peanut butter filling, followed by drained crushed pineapple and sliced strawberries.
- Drizzle the top with chocolate syrup and caramel sauce.
- Sprinkle chopped nuts evenly over the top and garnish with maraschino cherries.
- Refrigerate for at least 4 hours or overnight before serving.
Notes
- To keep the bananas from browning, lightly toss them in lemon juice before layering.
- You can use an Oreo crust instead of graham crackers for a chocolatey twist.
- Store covered in the refrigerator for up to 3 days for best freshness.
- For extra decadence, top with additional whipped cream before serving.
- Prep Time: 25 mins
- Cook Time: 0 mins
- Category: Dessert
- Method: No-Bake
- Cuisine: American
Ingredients
(Tip: You can find the complete list of ingredients and their measurements in the recipe card below.)
Each layer contributes to the irresistible texture and taste of this dessert masterpiece.
Graham cracker crumbs – The base of the cake. Mixed with melted butter and sugar, it creates a buttery, crunchy crust that anchors all the creamy layers.
Butter – Holds the graham cracker crust together and adds rich flavor.
Cream cheese – The base of the peanut butter filling. Use full-fat cream cheese for a rich, smooth texture.
Peanut butter – The star of the filling. Creamy peanut butter adds that nutty, indulgent flavor that pairs beautifully with bananas and chocolate.
Powdered sugar – Sweetens the cheesecake layer without making it grainy.
Whipped topping or whipped cream – Lightens the peanut butter layer and serves as the fluffy top layer of the cake.
Bananas – Freshly sliced bananas add natural sweetness and pair perfectly with peanut butter and chocolate.
Crushed pineapple (drained) – Adds a juicy, tropical note that brightens up the creamy layers.
Strawberries – Fresh, sliced strawberries lend color, freshness, and a touch of tartness.
Chocolate syrup or hot fudge – Drizzled over the top for that signature banana split touch.
Chopped peanuts or crushed Reese’s – Add crunch and a salty contrast that enhances the sweetness.
Maraschino cherries – The perfect finishing touch for a classic banana split presentation.
Directions
Start by making the crust. In a bowl, combine graham cracker crumbs, melted butter, and a little sugar. Press the mixture firmly into the bottom of a 9×13-inch dish or springform pan. Chill in the refrigerator while preparing the filling.
In a large bowl, beat softened cream cheese, peanut butter, and powdered sugar until smooth and creamy. Gently fold in the whipped topping until fully combined and light. Spread this peanut butter cheesecake layer evenly over the chilled crust.
Arrange a layer of sliced bananas over the peanut butter layer. Top with drained crushed pineapple, followed by a layer of sliced strawberries.
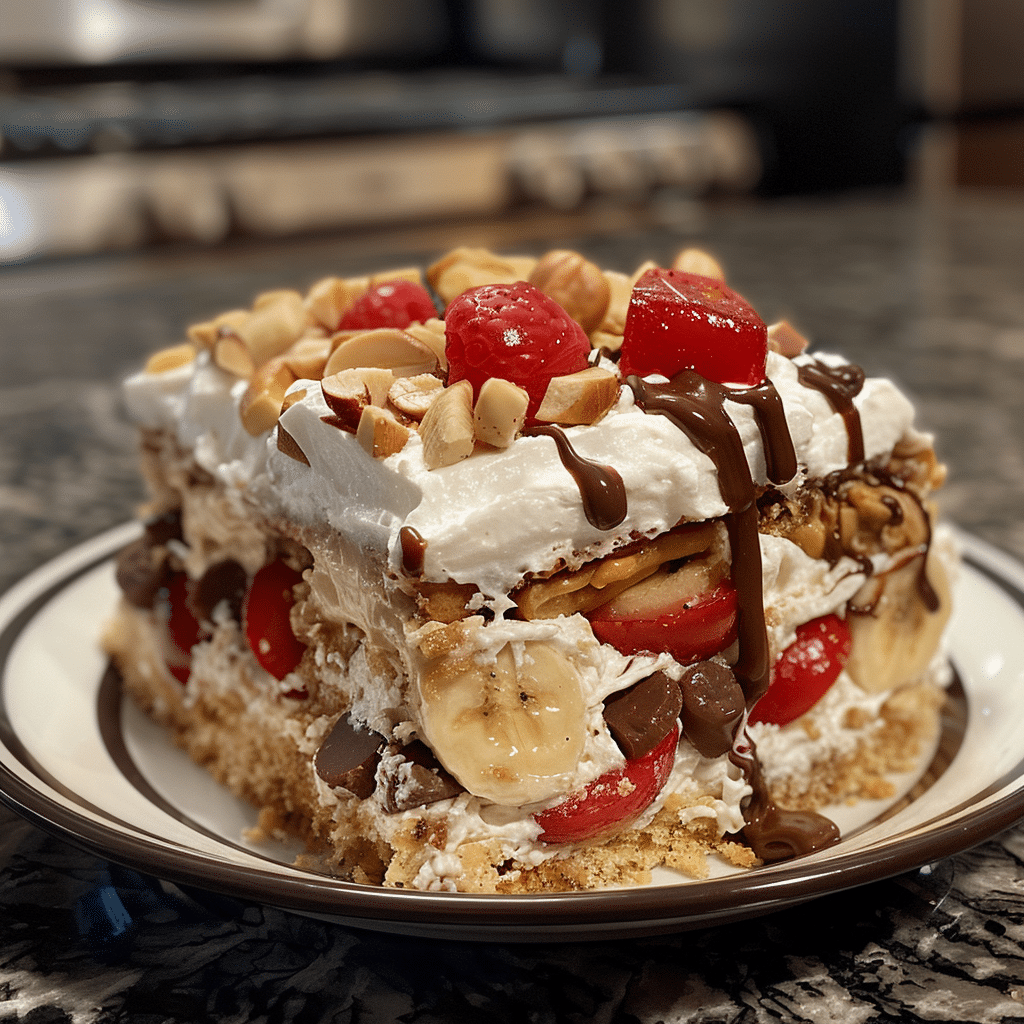
Spread the remaining whipped topping evenly across the fruit layers, covering completely. Drizzle with chocolate syrup or melted fudge, sprinkle with chopped peanuts or crushed Reese’s, and top with maraschino cherries.
Refrigerate for at least 4 hours, or until set. Slice and serve chilled.
Equipment needed :
Must-Have Tools to Get Rolling
Here’s what you’ll want to have on hand:
Silicone Spatula – Durable, heat-resistant silicone spatula perfect for mixing, scraping, and spreading. Gentle on non-stick cookware and easy to clean.
Large pot – You’ll need this to boil the whole cabbage head and soften the leaves.
large bowl –Spacious, durable large bowl ideal for mixing, serving, or food preparation. Made from sturdy material and easy to clean.
Sharp knife – For coring the cabbage and slicing out the thick stem in each leaf. A paring knife works best.
Mixing bowl – A big bowl makes it easier to combine your meat and rice filling evenly.
Cutting board – For prepping cabbage leaves and rolling them like a pro.
9×13-inch baking dish – Ideal size to fit your rolled cabbage leaves snugly and prevent them from unraveling.
knife – A sharp, durable kitchen knife perfect for slicing, chopping, and dicing with ease
Servings and timing
This recipe serves 10–12 people.
Preparation time: 25 minutes
Chilling time: 4 hours
Total time: 4 hours 25 minutes
Storage/reheating
Store the cake covered in the refrigerator for up to 3 days. For longer storage, freeze for up to 1 month and thaw in the fridge before serving. Since it’s a no-bake dessert, serve it cold for the best texture and flavor. Avoid reheating—it’s meant to be enjoyed chilled.
Variations and Customizations
Chocolate Peanut Butter Banana Split Cake
Add a layer of chocolate pudding between the peanut butter and banana layers for extra indulgence.
Nutella Twist
Drizzle Nutella on top of the peanut butter layer before adding the fruit for a chocolate-hazelnut surprise.
Tropical Version
Swap strawberries for mango or kiwi and add a sprinkle of shredded coconut for a beachy twist.
Mini Dessert Cups
Assemble the layers in individual parfait cups or mason jars for easy serving at parties.
Healthier Option
Use reduced-fat cream cheese, light whipped topping, and natural peanut butter for a lighter take.
Salted Caramel Drizzle
Top the whipped cream layer with a drizzle of salted caramel sauce for a sweet-and-salty upgrade.
Frozen Banana Split Cake
Freeze for a few hours before serving for a cool, ice-cream-like treat.
Vegan Version
Use dairy-free cream cheese, coconut whipped cream, and plant-based butter for a vegan-friendly dessert.
FAQs
1. Can I make this dessert ahead of time?
Yes, it’s perfect for making a day ahead since it needs time to chill and set.
2. Do I need to bake the crust?
No, this is a no-bake recipe, but you can bake the crust for 8 minutes if you prefer a firmer base.
3. Can I use crunchy peanut butter?
Yes, it adds a great texture, though creamy gives a smoother filling.
4. How do I prevent the bananas from browning?
Toss them lightly in lemon juice before layering.
5. Can I use homemade whipped cream?
Absolutely! Freshly whipped cream adds a rich, airy texture.
6. Can I freeze the cake?
Yes, just thaw it in the fridge before serving. It also tastes great slightly frozen.
7. Can I skip the pineapple?
Of course—just add more strawberries or bananas instead.
8. What kind of peanut butter works best?
Regular creamy peanut butter, such as Jif or Skippy, for the smoothest filling.
9. How can I make it more chocolatey?
Add a layer of chocolate pudding or drizzle melted chocolate between layers.
10. How should I serve it?
Slice chilled and serve with extra whipped cream or chocolate drizzle for a beautiful presentation.
Conclusion
This No-Bake Peanut Butter Banana Split Cake is everything you love about a banana split—creamy, fruity, nutty, and chocolatey—all wrapped up in a simple, no-bake dessert. Each bite delivers layers of flavor and texture, from the buttery crust to the rich peanut butter filling and refreshing fruit topping. Perfect for summer gatherings, birthdays, or anytime you need a showstopping treat, this cake is proof that you don’t need an oven to create dessert magic. One slice, and you’ll understand why this no-bake masterpiece truly lives up to its “heavenly” name.
Hungry for more? Visit our website for full recipes and follow us on Pinterest for daily foodie inspo you’ll love to pin!