Why You’ll Love This Recipe
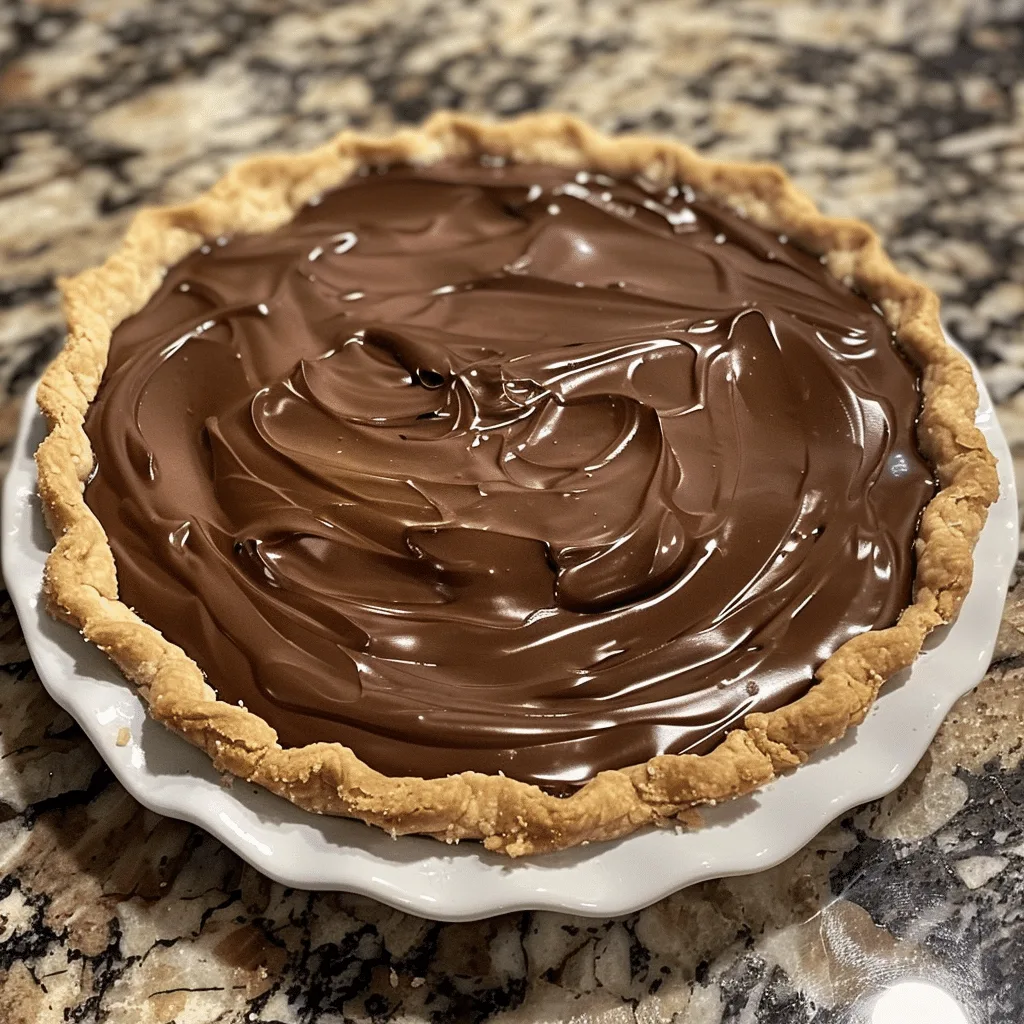
Few desserts evoke nostalgia quite like a slice of Old-Fashioned Chocolate Pie. Rich, creamy, and topped with a cloud of whipped cream or meringue, this pie is the ultimate comfort dessert. Its silky chocolate custard filling rests in a buttery, flaky crust — a perfect combination that never goes out of style. This recipe brings back the simplicity of traditional Southern baking, where real cocoa, fresh milk, and love were the only essentials. I once tried making this pie with dark cocoa powder for a deeper flavor, and it was absolutely divine. Whether served warm or chilled, this timeless treat is sure to satisfy every chocolate craving and bring back the warm memories of homemade desserts shared around the table.
Print
Old-Fashioned Chocolate Pie: A Silky, Classic Dessert Straight from Grandma’s Kitchen
- Total Time: 3 hours 40 minutes (including chilling time)
- Yield: 8 servings
- Diet: Vegetarian
Description
This Old Fashioned Chocolate Pie is a classic Southern dessert with a silky, rich chocolate custard filling topped with a layer of whipped cream or meringue. Baked in a flaky pie crust, it’s nostalgic, comforting, and irresistibly chocolatey.
Ingredients
- 1 unbaked 9-inch pie crust
- 1 1/4 cups granulated sugar
- 1/4 cup unsweetened cocoa powder
- 3 tbsp cornstarch
- 1/4 tsp salt
- 3 cups whole milk
- 4 large egg yolks, beaten
- 3 tbsp unsalted butter
- 1 tsp vanilla extract
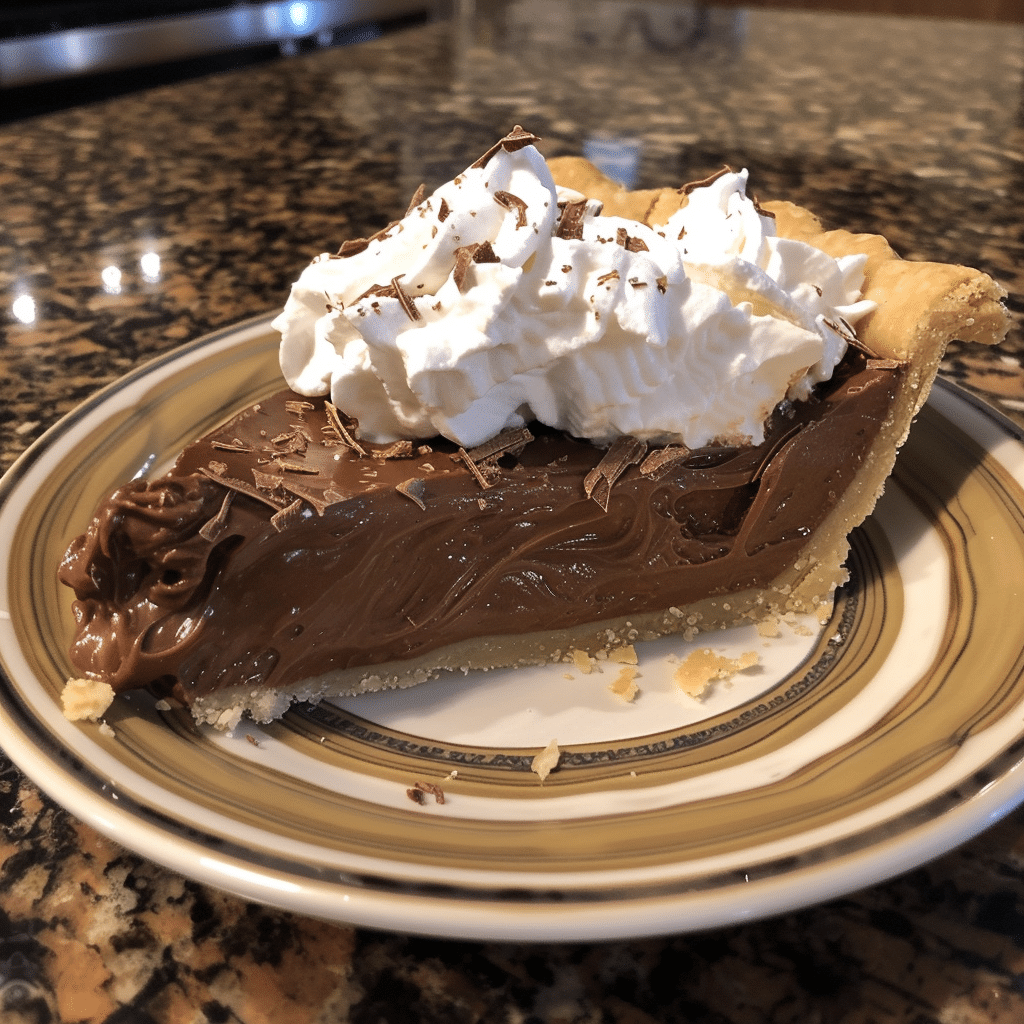
- 1 cup whipped cream or meringue (for topping)
Instructions
- Preheat oven to 350°F (175°C). Place pie crust in a 9-inch pie dish, prick the bottom with a fork, and bake for 10–12 minutes or until lightly golden. Set aside to cool.
- In a medium saucepan, whisk together sugar, cocoa powder, cornstarch, and salt.
- Gradually whisk in milk over medium heat until smooth and combined.
- Cook the mixture, stirring constantly, until it thickens and begins to bubble (about 8–10 minutes).
- Temper the beaten egg yolks by slowly adding a small amount of the hot mixture while whisking constantly, then return all to the saucepan.
- Cook for an additional 2 minutes, stirring constantly, until thick and glossy.
- Remove from heat and stir in butter and vanilla extract until smooth.
- Pour the chocolate filling into the cooled pie crust and smooth the top.
- Allow pie to cool at room temperature for 30 minutes, then refrigerate for at least 3 hours or until set.
- Top with whipped cream or meringue before serving.
Notes
- Use high-quality cocoa for the best chocolate flavor.
- If topping with meringue, bake an additional 10 minutes to brown the peaks slightly.
- Store pie covered in the refrigerator for up to 4 days.
- Prep Time: 20 minutes
- Cook Time: 20 minutes
- Category: Dessert
- Method: Stovetop and Baking
- Cuisine: Southern American
Ingredients
(Tip: You can find the complete list of ingredients and their measurements in the recipe card below.)
Pie crust – The base that holds it all together. A flaky, pre-baked crust works perfectly, whether homemade or store-bought.
Granulated sugar – Sweetens the filling while enhancing the natural cocoa flavor.
Cocoa powder – The star ingredient that gives the pie its rich, classic chocolate taste. Use unsweetened cocoa for authentic flavor.
All-purpose flour – Acts as a thickener for the custard, giving it that smooth, pudding-like consistency.
Salt – A pinch balances the sweetness and intensifies the chocolate notes.
Whole milk – Creates a creamy, luscious texture. Whole milk works best, though you can use 2% if preferred.
Egg yolks – Enrich the filling and help it set beautifully when cooled.
Unsalted butter – Adds richness and a glossy finish to the chocolate filling.
Vanilla extract – Infuses warmth and depth, rounding out the chocolate flavor.
Whipped cream or meringue (optional) – The perfect topping for this pie, adding lightness to the rich filling.
Chocolate shavings (optional) – For garnish and an elegant presentation.
Directions
Begin by pre-baking your pie crust according to package or homemade instructions until lightly golden. Let it cool completely before filling.
In a medium saucepan, whisk together sugar, cocoa powder, flour, and salt. Gradually add milk while whisking constantly to avoid lumps. Place the saucepan over medium heat and cook, stirring continuously, until the mixture begins to thicken — about 7–10 minutes.
In a separate bowl, lightly beat the egg yolks. Slowly pour a small amount of the hot chocolate mixture into the yolks, whisking constantly to temper them. Then, pour the tempered yolks back into the saucepan and continue cooking for another 2–3 minutes until the filling becomes thick and silky.
Remove from heat and stir in butter and vanilla extract until fully melted and smooth. Pour the warm filling into the cooled pie crust, smoothing the top with a spatula. Allow the pie to cool at room temperature for 30 minutes, then refrigerate for at least 2 hours, or until fully set.
Before serving, top with whipped cream or spread with fluffy meringue and toast it lightly if desired. Garnish with chocolate shavings for that old-fashioned charm. Slice, serve, and enjoy a taste of pure chocolate bliss.
Equipment needed :
Here’s what you’ll want to have on hand:
Silicone Spatula – Durable, heat-resistant silicone spatula perfect for mixing, scraping, and spreading. Gentle on non-stick cookware and easy to clean.
Large pot – You’ll need this to boil the whole cabbage head and soften the leaves.
large bowl –Spacious, durable large bowl ideal for mixing, serving, or food preparation. Made from sturdy material and easy to clean.
Sharp knife – For coring the cabbage and slicing out the thick stem in each leaf. A paring knife works best.
Mixing bowl – A big bowl makes it easier to combine your meat and rice filling evenly.
Cutting board – For prepping cabbage leaves and rolling them like a pro.
9×13-inch baking dish – Ideal size to fit your rolled cabbage leaves snugly and prevent them from unraveling.
knife – A sharp, durable kitchen knife perfect for slicing, chopping, and dicing with ease.
Servings and timing
This recipe serves 8 slices.
Prep time: 20 minutes
Cooking time: 20 minutes
Cooling/chilling time: 2 hours
Total time: 2 hours 40 minutes
Storage/reheating
Store leftover pie in the refrigerator, covered, for up to 4 days. Serve chilled or at room temperature for best flavor. Avoid freezing the pie, as the custard can become watery once thawed. If using meringue topping, cover loosely with plastic wrap to avoid sticking.
Variations and Customizations
Double Chocolate Delight
Add a handful of chocolate chips to the warm filling before pouring it into the crust for extra richness.
Mocha Twist
Add 1 teaspoon of instant espresso powder to the filling for a subtle coffee flavor that enhances the chocolate.
Coconut Chocolate Pie
Sprinkle toasted coconut on top or stir some into the filling for a tropical flair.
Nutty Chocolate Pie
Add chopped pecans or walnuts to the crust before baking for texture and a nutty crunch.
Marshmallow Topping
Spread a layer of mini marshmallows on top and toast lightly for a s’mores-inspired finish.
Dark Chocolate Elegance
Use dark cocoa powder and a touch less sugar for a sophisticated, bittersweet version.
Mint Chocolate Pie
Stir in a few drops of peppermint extract and garnish with crushed peppermint candies.
Salted Caramel Drizzle
Add a drizzle of salted caramel sauce over the whipped cream for an indulgent touch.
Peanut Butter Chocolate Pie
Add a thin layer of peanut butter between the crust and filling before pouring in the custard.
Vegan Option
Use almond milk, vegan butter, and cornstarch instead of flour. Replace egg yolks with cornstarch for thickening.
FAQs
Can I use cornstarch instead of flour?
Yes, substitute 3 tablespoons of cornstarch for the flour to thicken the filling.
Do I have to pre-bake the crust?
Yes, it prevents sogginess and ensures a crisp texture.
Can I use half-and-half instead of milk?
Yes, but it will create a richer, heavier filling.
Why did my filling turn lumpy?
It may have cooked too quickly — whisk constantly and add milk gradually.
Can I make this pie ahead of time?
Yes, it’s perfect for making a day in advance. Chill until ready to serve.
Can I add whipped cream instead of meringue?
Absolutely — it’s a classic topping that pairs beautifully with chocolate.
How do I make the filling thicker?
Cook it a few minutes longer or increase the flour slightly.
Can I use store-bought pudding instead?
You can, but homemade custard offers the authentic old-fashioned flavor.
How do I keep my meringue from weeping?
Spread it on hot filling and bake briefly to set the egg whites.
Can I make it without eggs?
Yes, replace eggs with cornstarch and use milk for thickening.
Conclusion
This Old-Fashioned Chocolate Pie is the epitome of timeless comfort desserts — rich, creamy, and irresistibly smooth. It’s a pie that feels both nostalgic and indulgent, perfect for holidays, family gatherings, or cozy nights at home. Each bite delivers the perfect harmony of deep chocolate flavor and velvety custard, all nestled in a crisp, buttery crust. Once you taste this homemade classic, you’ll never go back to boxed pudding pies again. It’s pure, simple, and utterly unforgettable — just like Grandma used to make.
Hungry for more? Visit our website for full recipes and follow us on Pinterest for daily foodie inspo you’ll love to pin!