Halloween isn’t just about costumes and candy—it’s about creating moments that are spooky, silly, and downright memorable. One of the best ways to do that? Food that looks terrifying but tastes amazing. Zombie finger breadsticks are the ultimate Halloween appetizer that nails all the creepy vibes—literally.
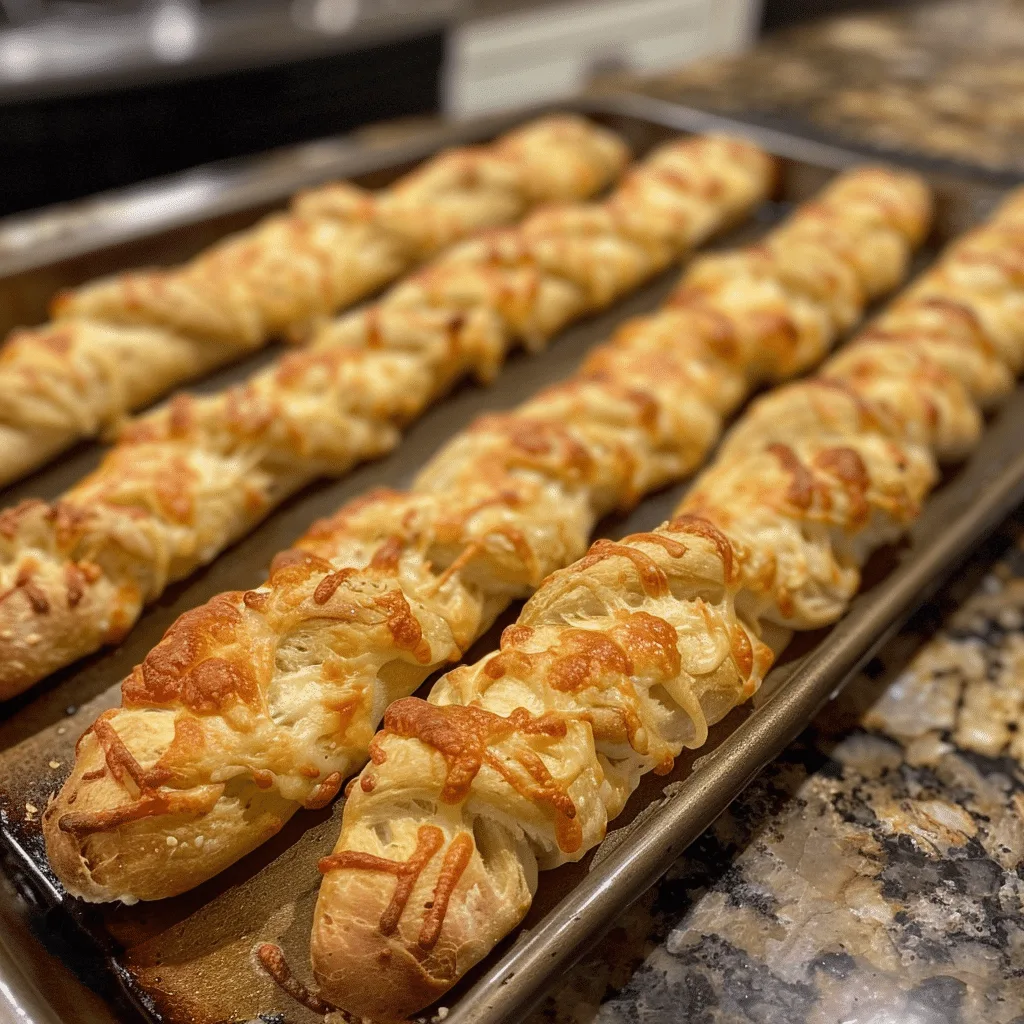
These twisted, knobby breadsticks are shaped like severed zombie fingers, complete with almond fingernails and baked-in “wounds.” They’re golden, garlicky, and crispy on the outside with a soft, chewy center. And whether you’re serving them to party guests, your kids, or even a classroom full of hungry goblins, they’ll vanish faster than you can scream “braaaiiinnns.”
In this guide, we’ll walk you through everything—from shaping realistic zombie hands to flavoring and serving suggestions. It’s gross in the best way possible. So grab your dough, sharpen your knives (for carving, not slaying), and let’s bring these undead snacks to life!

Key Ingredients for Zombie Finger Breadsticks
You don’t need a mad scientist’s lab to whip up zombie finger breadsticks. Just a handful of simple ingredients turns ordinary dough into spine-chilling snacks!
Here’s what you’ll need:
- Refrigerated breadstick or pizza dough – Store-bought works great, but you can use homemade too. The dough should be easy to shape and soft enough to twist into fingers.
- Whole almonds – These are your creepy fingernails! Just press one into the tip of each breadstick before baking.
- Egg wash or melted butter – Brushing the tops helps them brown nicely and gives a slightly glossy, lifelike finish.
- Garlic powder & Italian seasoning – Adds flavor and a cracked, aged “skin” effect.
- Grated Parmesan (optional) – Gives the fingers a flaky, dried-out zombie texture.
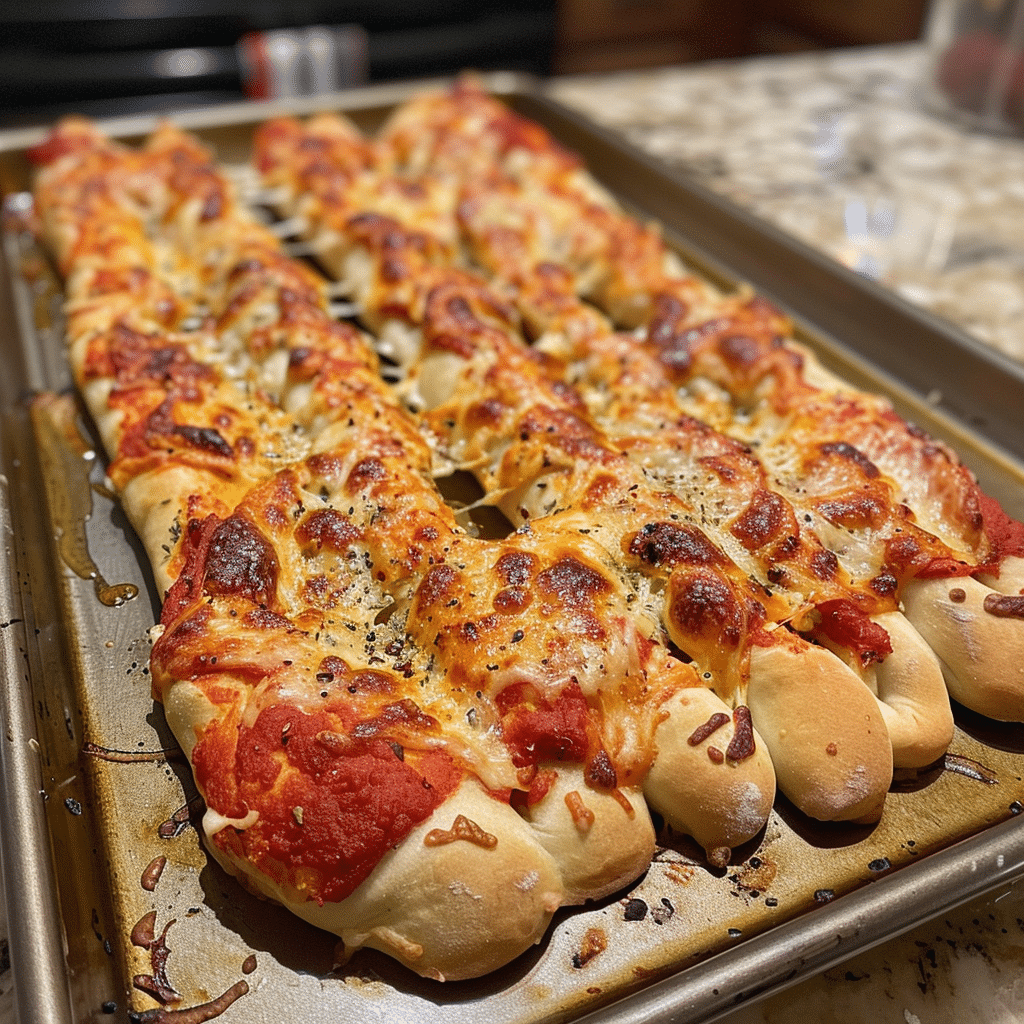
- Red food coloring or marinara sauce (optional) – Dab on for a realistic bloody effect—great for the squeamish crowd!
How to Make Zombie Finger Breadsticks Step by Step
Making zombie finger breadsticks is equal parts creepy craft and cozy comfort food. Here’s how to bring your undead snacks to life:
1. Preheat the Oven
Start by preheating your oven to 375°F (190°C). Line a baking sheet with parchment paper.
2. Prep the Dough
Roll out your breadstick or pizza dough. Slice it into strips about the width and length of a finger—rough shapes work best here.
3. Shape the Fingers
Gently roll each strip to smooth it out. Pinch one end to form a fingertip, then use a knife to create knuckle lines and wrinkles.
4. Add the Nail
Press a whole almond firmly into the fingertip area to look like a fingernail. Creepy, right?
5. Brush and Season
Brush with egg wash or butter. Sprinkle with garlic powder, herbs, and a touch of Parmesan.
6. Bake
Bake for 12–15 minutes or until golden brown and slightly puffed.
Creepy-Cool Variations for Zombie Finger Breadsticks
Want to level up your zombie finger breadsticks? Try these terrifyingly tasty twists!
- Cheesy Fingers – Stuff each dough strip with mozzarella sticks for gooey, oozing centers.
- Spicy Zombie Digits – Add crushed red pepper or jalapeños to the dough for a fiery bite.
- Mummy Fingers – Wrap each “finger” with thin dough strips like bandages and dust with cinnamon sugar for a sweet version.
- Rotten Green Fingers – Tint your dough with green food coloring to make them look moldy and undead.
Creep it real—these fingers are anything but boring!
Tools You’ll Need to Make Zombie Finger Breadsticks
Making zombie finger breadsticks doesn’t require a haunted kitchen—just a few basic tools to get those creepy details right.
- Baking sheet – A flat, nonstick surface for even baking.
- Parchment paper or silicone mat – Keeps your zombie fingers from sticking (and saves cleanup time).
- Sharp knife or kitchen scissors – Perfect for carving knuckle lines and trimming dough.
- Pastry brush – For applying egg wash or melted butter to create that golden, lifelike skin.
- Small bowl – Use it to mix seasonings or hold your “bloody” dipping sauce.
With these tools, you’ll be shaping terrifying treats in no time!
Frequently Asked Questions About Zombie Finger Breadsticks
Can I use homemade dough instead of store-bought?
Yes! Any soft, pliable dough works—pizza dough or even crescent roll dough is perfect.
What can I use instead of almonds for nails?
Try pumpkin seeds, sliced olives, or even slivered bell pepper pieces for allergy-friendly alternatives.
How do I keep the fingers from puffing up too much?
Lightly score the dough and don’t overwork it. You can also chill shaped fingers for 10 minutes before baking.
Can I make these ahead of time?
Absolutely. Shape and refrigerate them for up to 24 hours before baking, or bake and reheat in the oven.
Hungry for more? Visit our website for full recipes and follow us on Pinterest for daily foodie inspo you’ll love to pin!